First open up Photoshop CS3 program, if you use adobe photoshop CS2 you still have to use ImageReady.
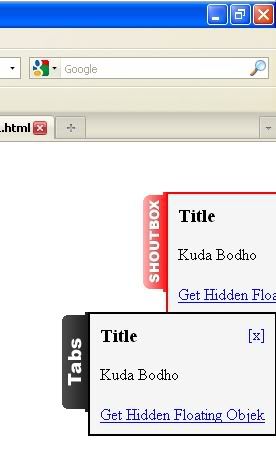
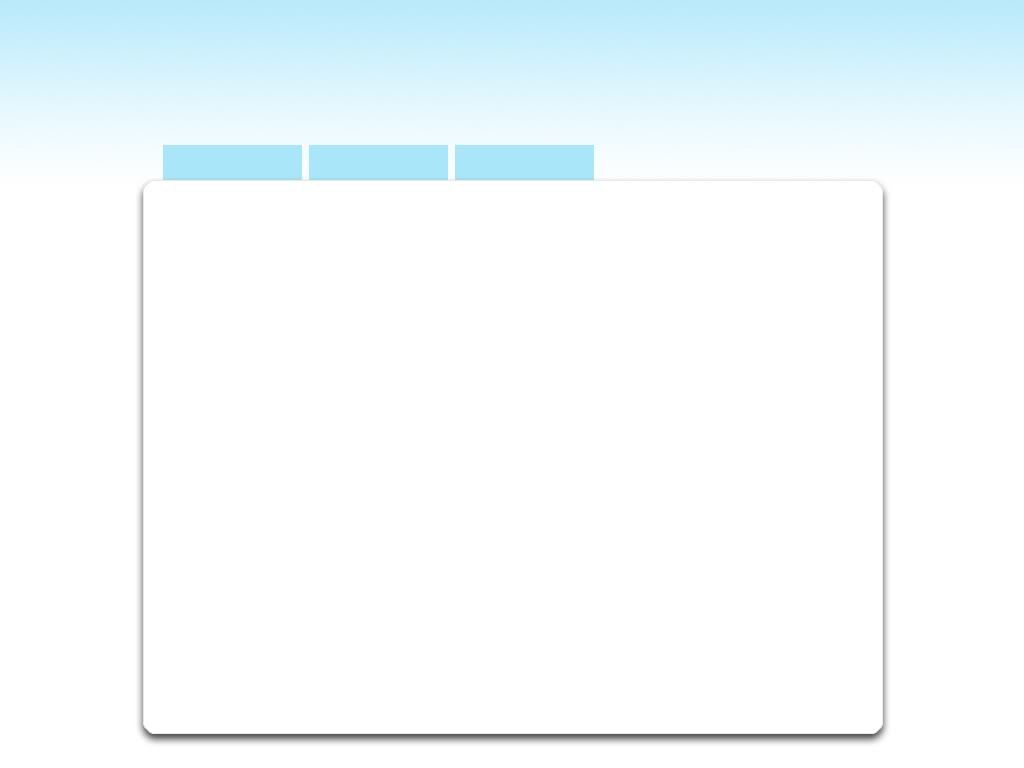
again before you have to read Hidden objek with tab, in the CSS, for class "gbtab" the height : 100px and the width : 30px.
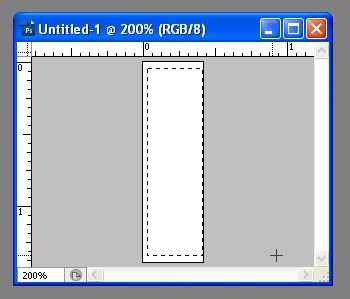
So now make a width Canvas size :30px and height : 100px.
and starting to make.... ( jeng jeng jeng !!!)
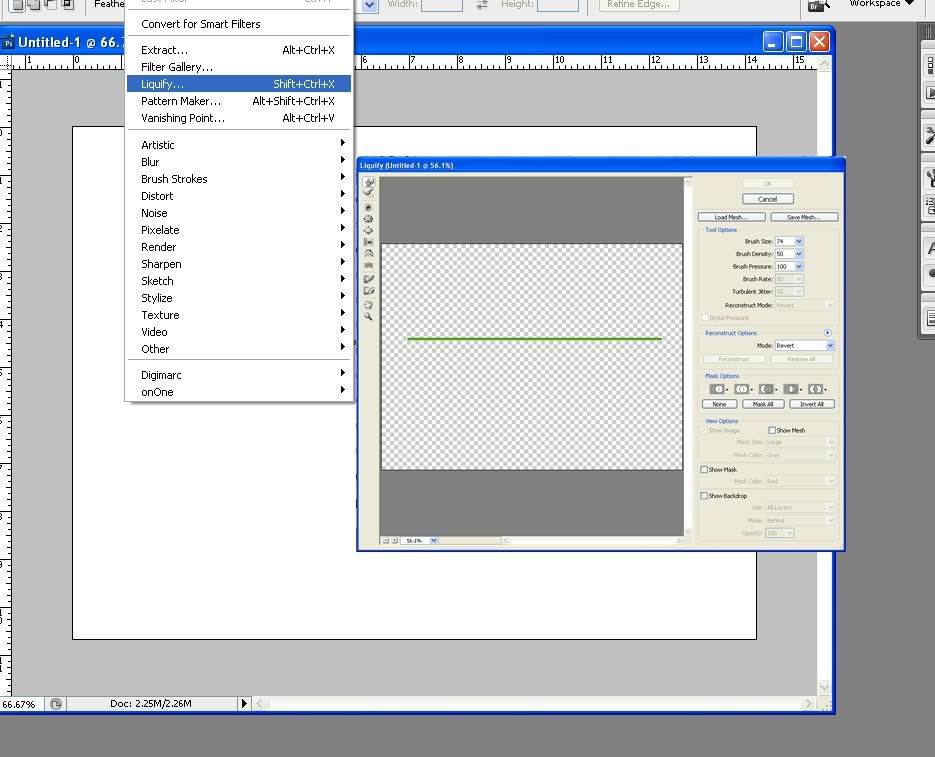
Use the Rectangular Marquee Tool to create a selection box

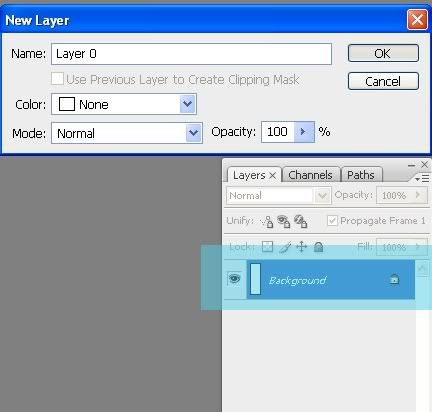
Double click on the background layer to a layer that we can edit

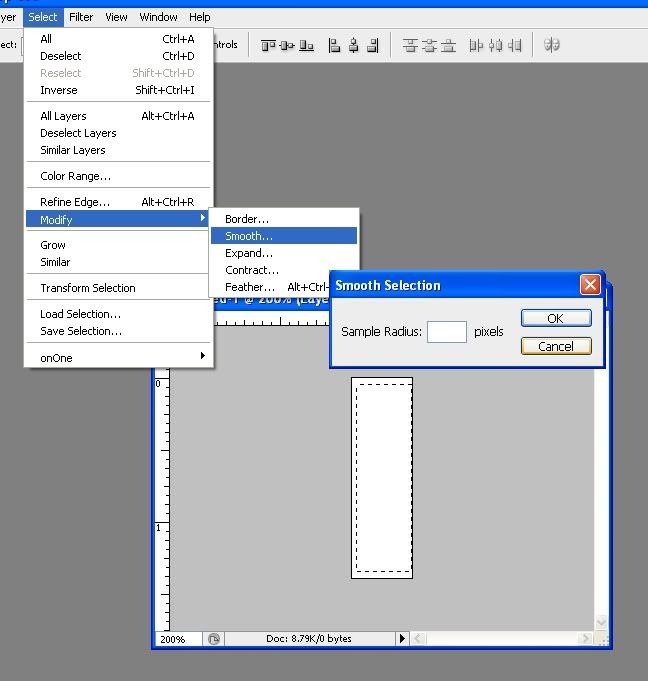
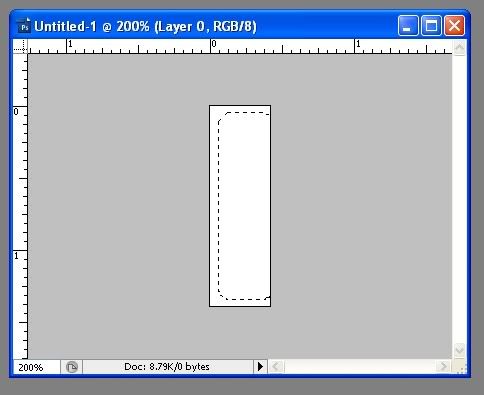
puree the end of selection or change shape to rounded menu by click [Select] and [Modify] [Smooth ... ] Give the value of Sample 4 pixels radius and OK!

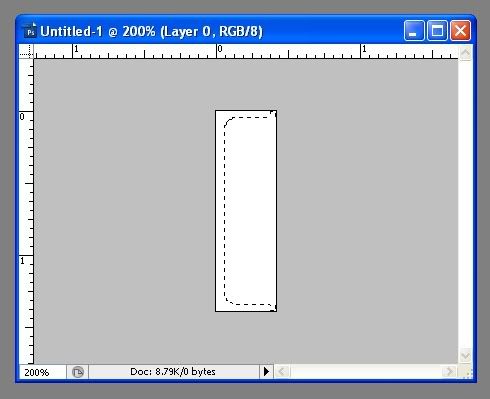
after a selection, use the Magic Wand selection tool to shift slightly to the right to activate the Magic Wand tool and use the right button set to taste you ...

add in base selection using Rectangular Marquee tool.

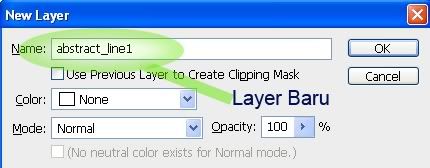
Create a new layer by pressing the combination of CTRL + SHIFT + N and give a black color # 000000 or up to you.
Let the selection and create a new layer once again, and then use the Gradient tool to make sure the foreground color gradations to white # FFFFFF with a linear gradient type and type of foreground to transparent gradient ... until the results as follows:

Create text up to you, so let the text horizontally or vertically perpendicular to press the combination of CTRL + T then right click select Rotate 90 o CCW all set position to the middle ... then in a way rasterize menu click Layer > Rasterize > Type
Remove layer 0,, and now we begin to add a little sweetener ( ciahhhhh!!! hahaha sweetener ?!? )...
Animation
Click Window menu and select Animation ... to appear palette...
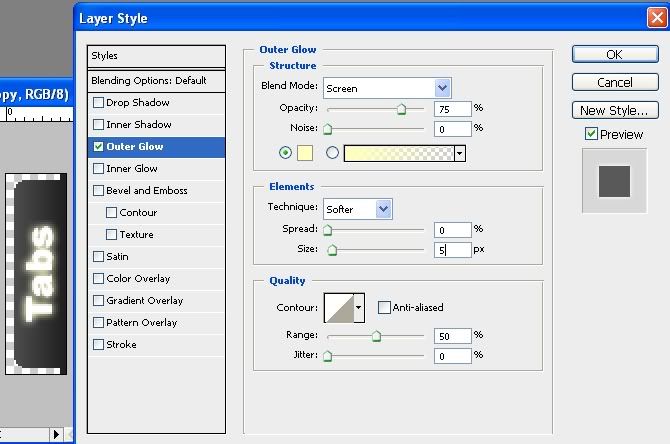
Duplicate this layer by way of text CTRL + J, then double click on the layer thumbnail to appear Blending Options dialog box.
add Glow outer effects, see the figure below:

Duplicate again the current layer, repeat this step to edit effects and add outer Glow spread values: 5 and size: 15, OK
Began to organize animation, remove token (Indicates layer visibility) in the layer 2 tabs and tabs copy copy.
palette animation to create a new frame, see picture below:

layer tabs appear again copy ...
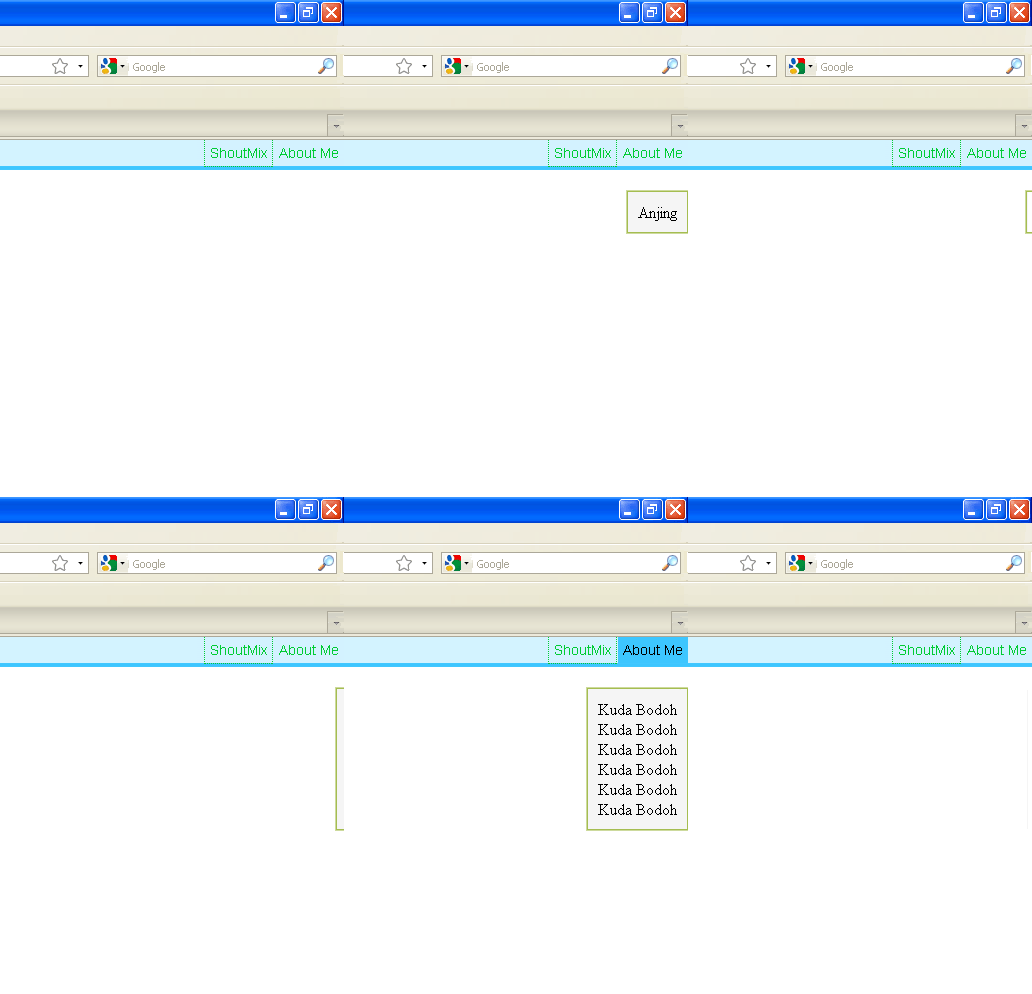
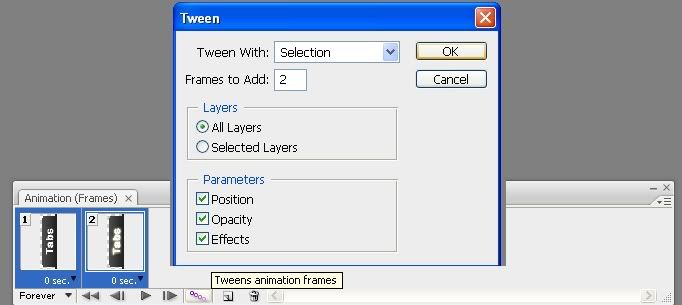
select the frame and then click tweens animation frames ... give the value of 1 [frame to add] ...

duplicate another frame the same as for a new frame ... in the last frame change layer visibility tabs missing copy and copy 2 tabs appear ...
select the frames again and do the Tweening like that, give the value of frames to add 1 ...
again duplicate frames and set the tabs visibilitynya copy 2 missing tabs appear ...
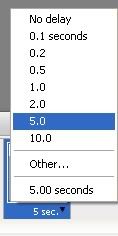
select the two frames do Tweening process, give yourself 2 [frames to add], and the last frame set the delay to 5.0 second

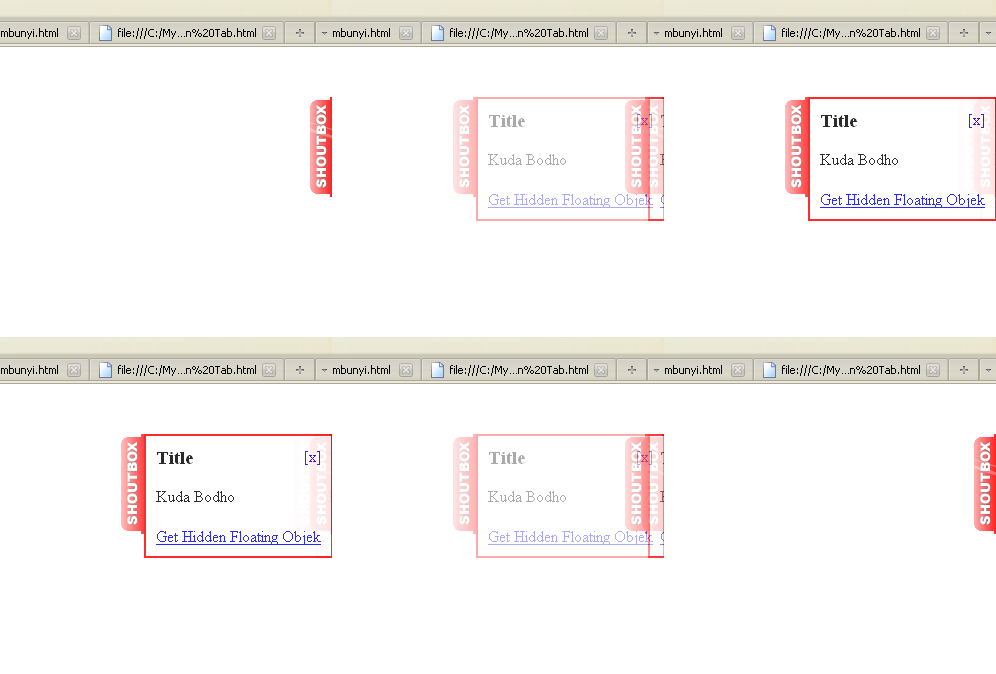
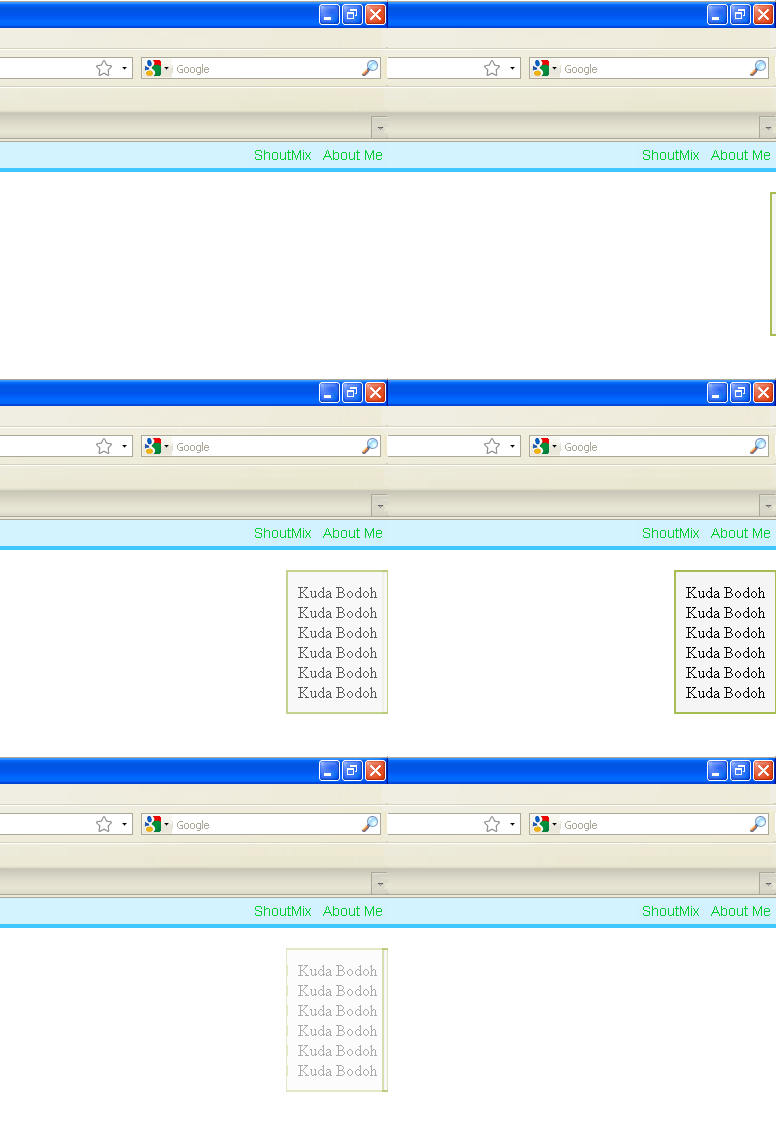
The end result is on page top. Save the file by File > Save for Web and Devices cilck gif and select the save button ... jadi dha...
Do not forget the file stored in the form of psd, ( password ), because if you want to create different tabs to multiple hidden object with tab, only changed the color ... and layer 2 can be raised opacitynya more clearly let gradation...
